Meta Conversions API – Features, Benefits, and Setup
The Meta Conversions API provides you with a robust and reliable way to connect your marketing data directly with Meta’s systems. In this blog post, we’ll take an in-depth look at the possibilities and benefits of the Conversions API to help you better personalize, optimize, and measure the success of your ads.
What is the Conversions API?
The Conversions API is a powerful tool that allows you to directly and reliably connect your marketing data from your server, website platform, app, or CRM with Meta. This marketing data includes, among other things, website events, app events, and offline conversions. With this data, you can personalize your ads, optimize them, and measure their success—ensuring that they are ultimately presented to the users who are most likely to find them relevant.
How does the Conversions API work?
The Conversions API enables you to send events from various sources such as websites, retail stores, email addresses, chats, phones, mobile apps, or offline activities. You can set up the Conversions API instead of using the App Events API or the Offline Conversions API. If you have already set up the App Events API or the Offline Conversions API, you can continue using them as long as you do not need to create new datasets.
Setting up the Conversions API
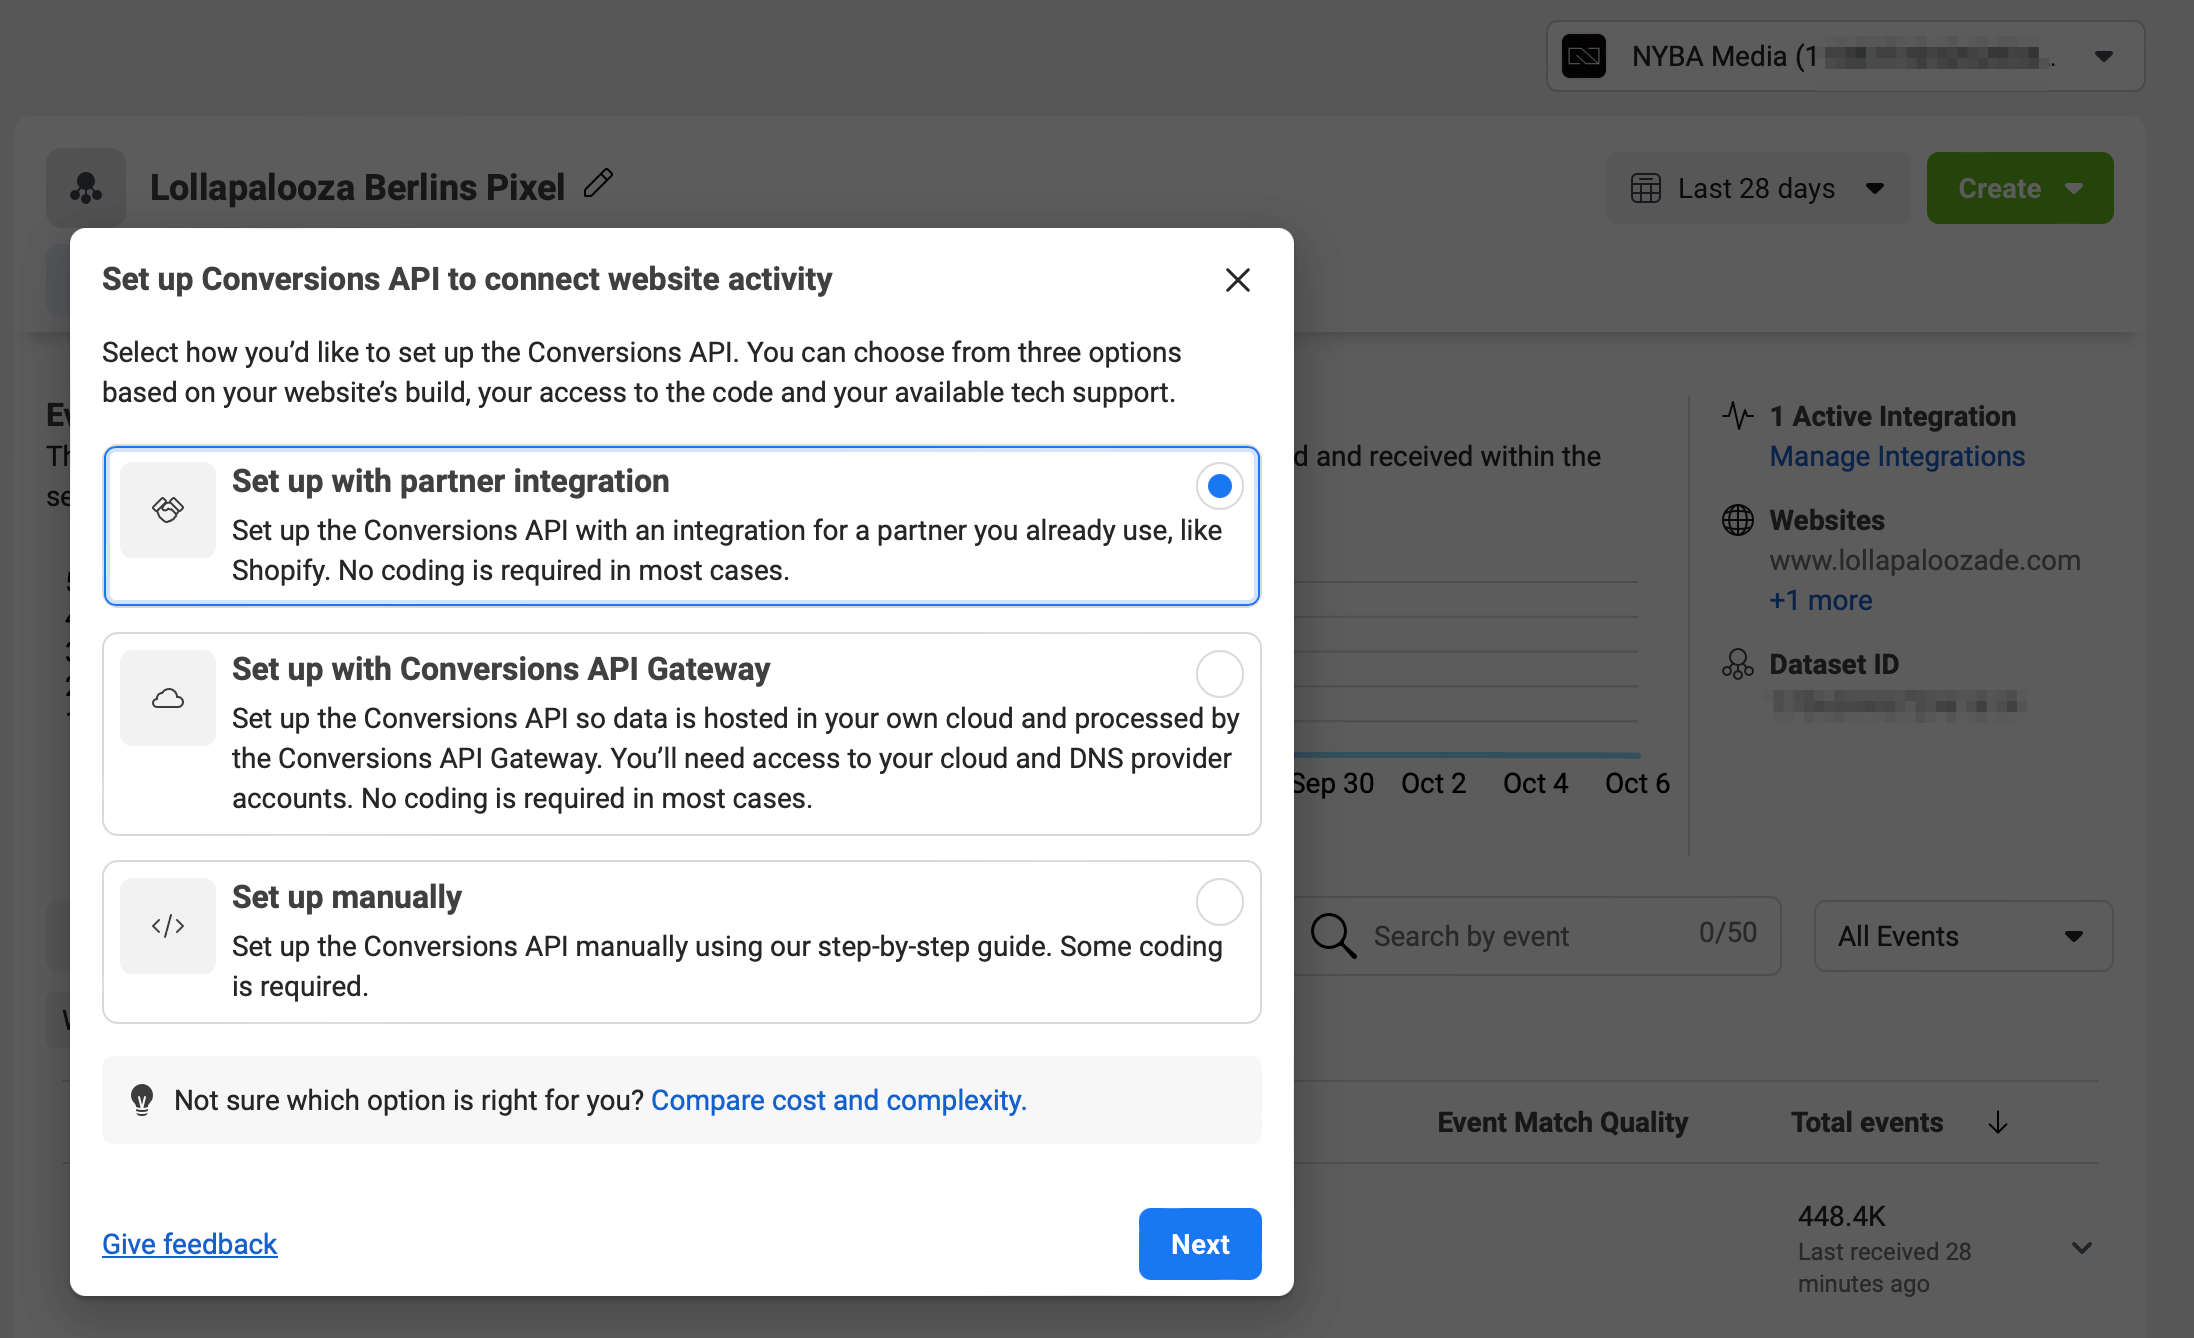
There are several ways to set up the Conversions API, and some of them do not require a developer’s help. Here are the setup options:
- Commerce platform via partner integration: If you’re using a commerce platform such as Shopify, WooCommerce, Wix, or BigCommerce, you can set up the Conversions API with little effort.
- Conversions API Gateway: This setup method via the Events Manager does not require programming knowledge.
- Other partner integrations: If your website is hosted on one of Meta’s partner platforms such as Google Tag Manager or others, you can use a partner integration to set up the Conversions API.
- Direct integration: If you want more control over the integration, you can start with a direct integration of the Conversions API.
Depending on which option you choose, costs, setup duration, and required resources may vary.
Setup via a Commerce Platform
- Preparation:
Make sure you have administrator access to the Events Manager and the data source. - Access data sources in Events Manager:
- Open the Events Manager in your account.
- Go to the “Data Sources” tab.
- Select settings:
- In the “Data Sources” section, you’ll see an overview of your data sources.
- Select the data source you want to use for the Conversions API.
- Click the “Settings” button in the menu.
- Select partner integration:
- Scroll down to the “Partner Integrations” section.
- Click the “Choose Partner” button.
- Choose your partner from the list:
- A list of all available Conversions API partners will appear.
- Select your partner by clicking on their name.
- Follow the setup instructions:
- Each partner provides specific setup instructions.
- Follow these steps carefully. You may be asked to enter details from your partner account or configure specific settings.
- Verify setup:
- After completing all steps, verify that everything works correctly.
- Send test events from your server and check if they are displayed correctly in Events Manager.
Setup via the Conversions API Gateway
Follow this step-by-step guide to set up the Conversions API Gateway smoothly:
Step 1: Start deployment
- Open the Meta Events Manager and navigate to the “Settings” tab.
- Click “Set up with Conversions API Gateway” and then “Get Started.”
- Review the prerequisites and then click “Continue.”
Step 2: Configure and install AWS
- Log in to AWS (if not already).
- A Quick Creation workflow for the Conversions API Gateway stack will open.
- Some fields are pre-filled – do not change them except for the stack name.
- Fill in the remaining fields, especially “Administrator Email” and “Administrator Password.”
- Click “Create Stack.”
- Wait 30–40 minutes for completion.
- Go to the “Outputs” tab and note down the CapigSetupURL.
Step 3: Verify data collection
- Use the CapigSetupURL to access the administrator UI of the Conversions API Gateway.
- Log in with your administrator email and password.
- Verify data collection by visiting and reloading your website.
Step 4: Add a custom domain (recommended)
- In the admin UI, go to “Manage Domains.”
- Add a custom domain for your Conversions API Gateway.
- Create two DNS entries as shown on the “Configure DNS” page.
- Wait for DNS validation.
Troubleshooting setup issues
- Use the provided guide to identify and resolve common issues.
Additional configuration options
- Add new connections.
- Configure additional domains.
- Add new pixels to your existing Conversions API Gateway connection.
Setup via Other Partner Integrations: Google Tag Manager
Follow these steps to set up the Conversions API with server-side tags in Google Tag Manager (GTM):
- Requirements
- An active Meta account.
- A GTM account with an active GA4 web tag.
- Access to Google Cloud Platform for the server container.
- Create a server container in GTM
- Log in to GTM.
- Click “Container” and then “New.”
- Choose “Server” as the container type and name it.
- Follow the instructions to complete creation.
- Configure GA4 server client
- In the server container, click “Clients” > “New.”
- Select “GA4 Server Client.”
- Configure and save.
- Send event data to Conversions API
- In the server container, go to “Tags.”
- Click “Create new tag” > “Conversions API Event.”
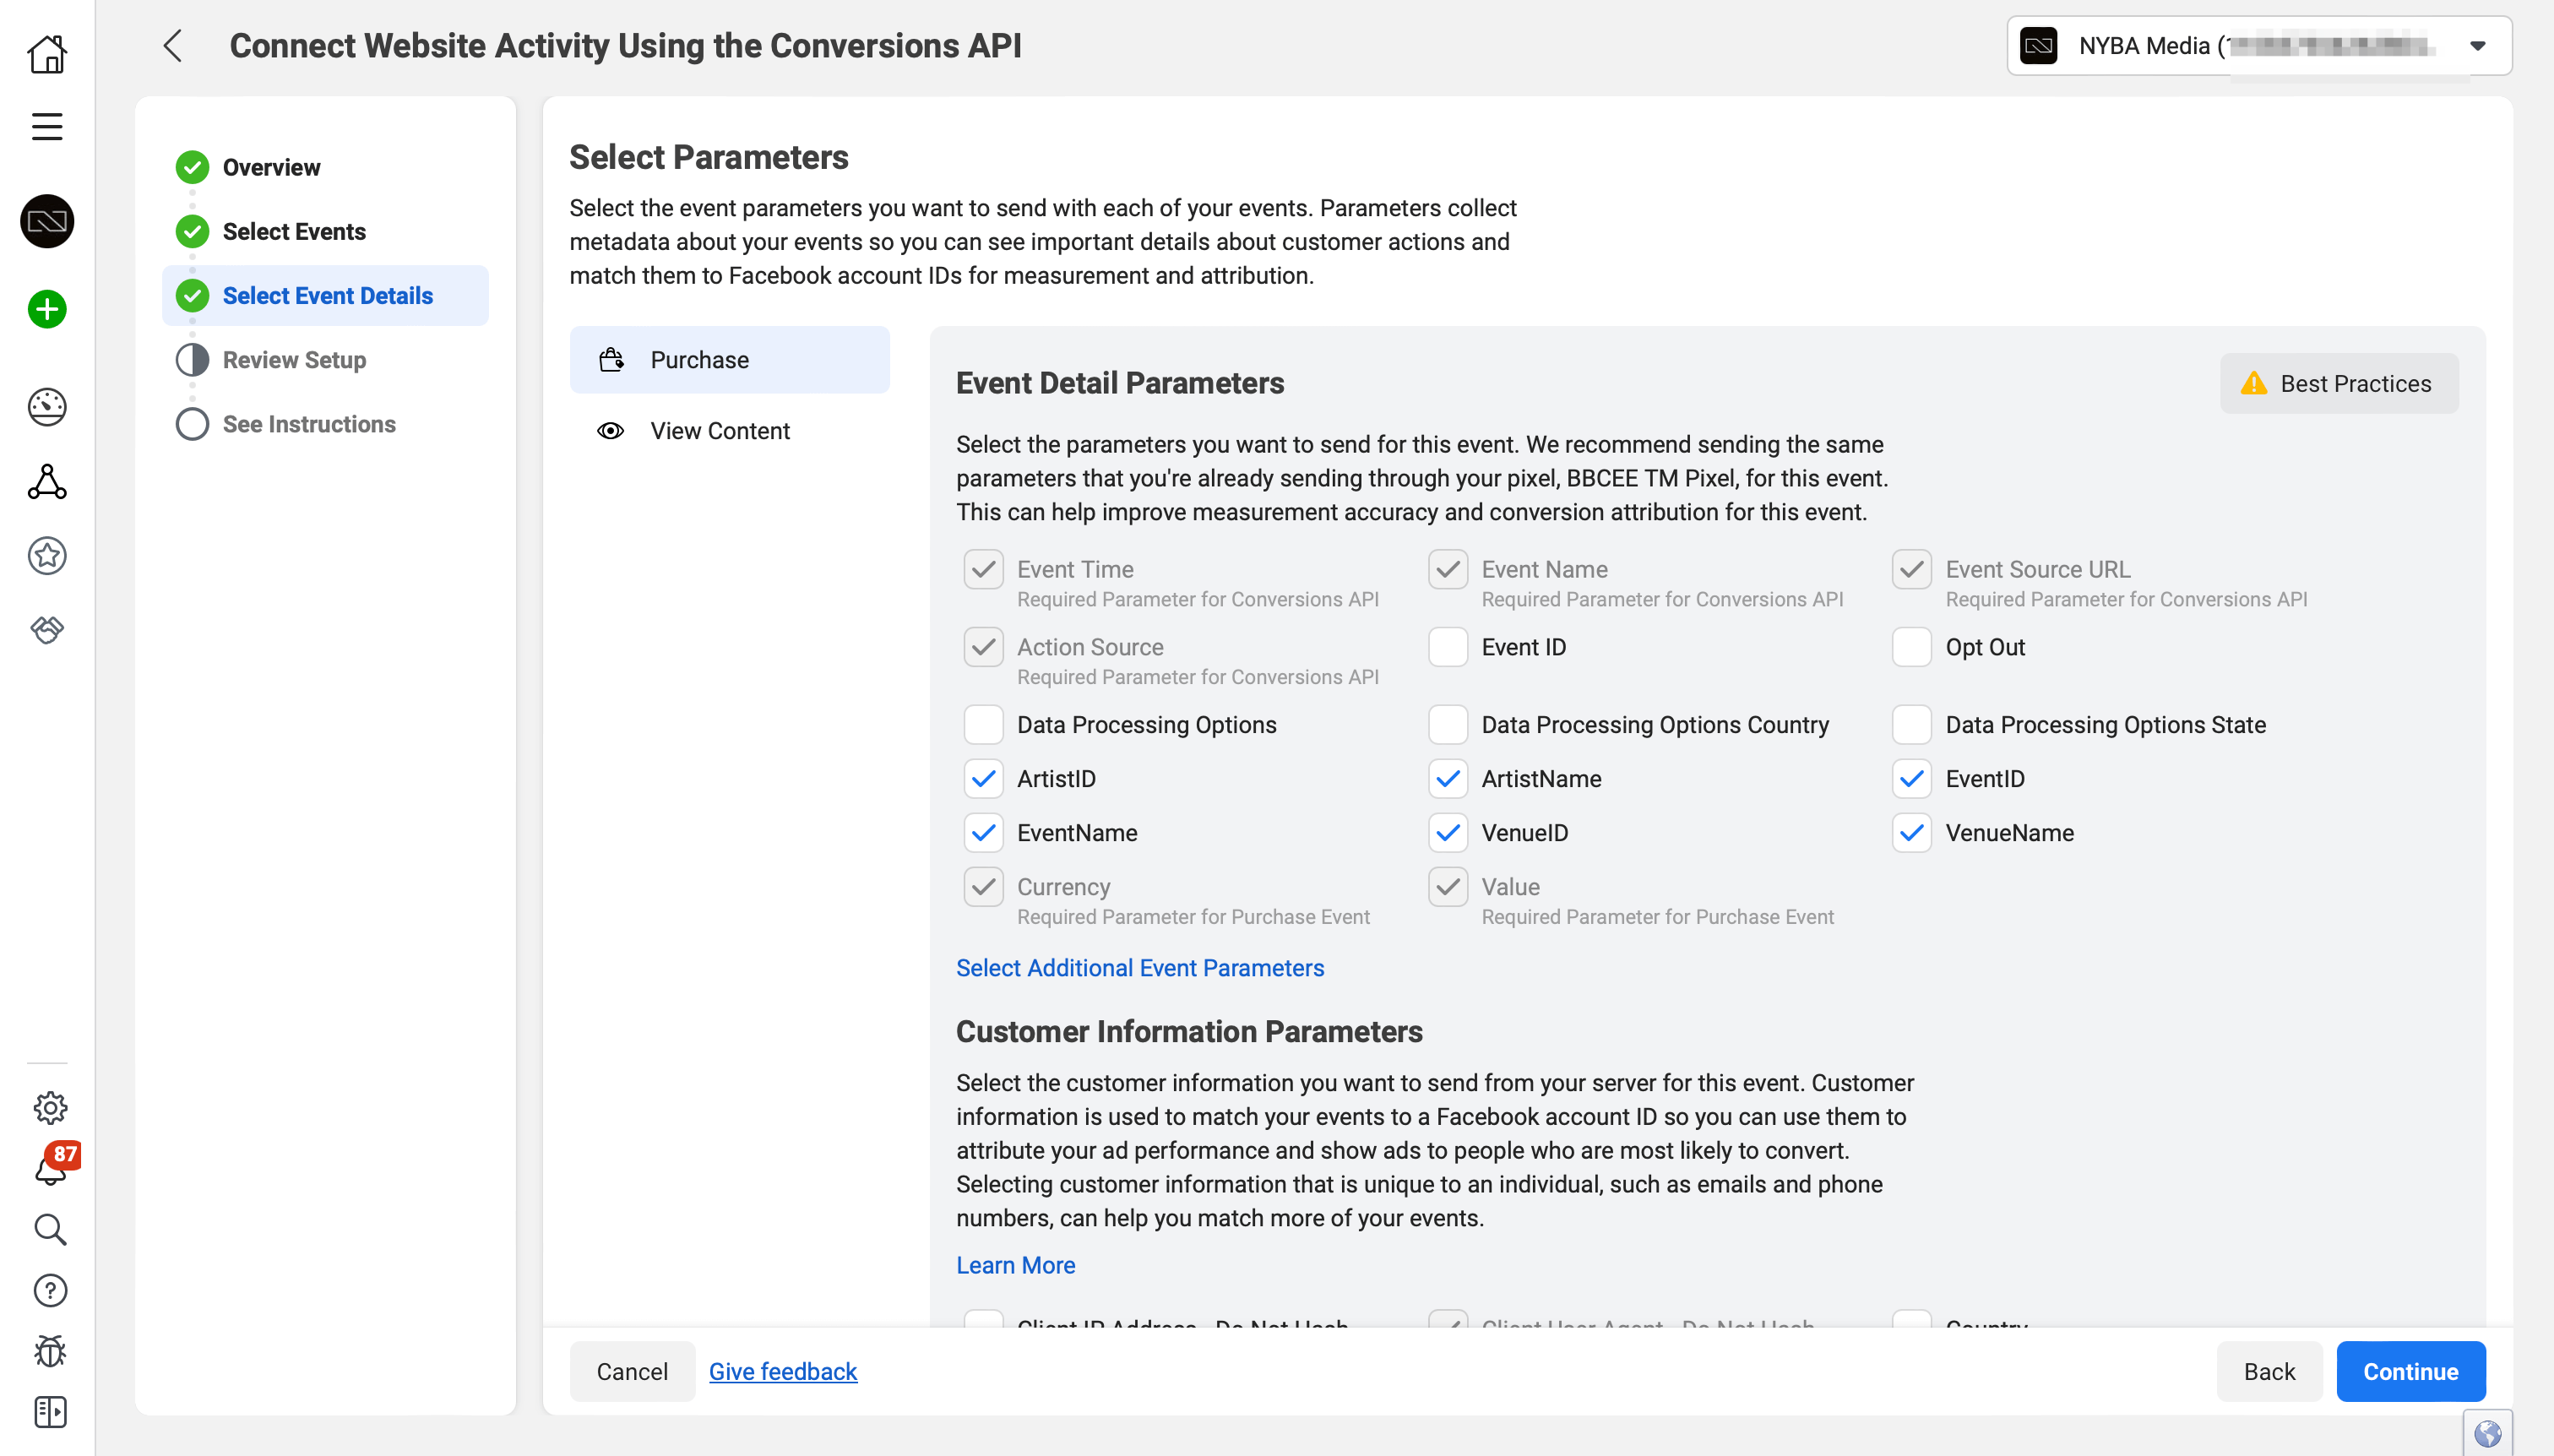
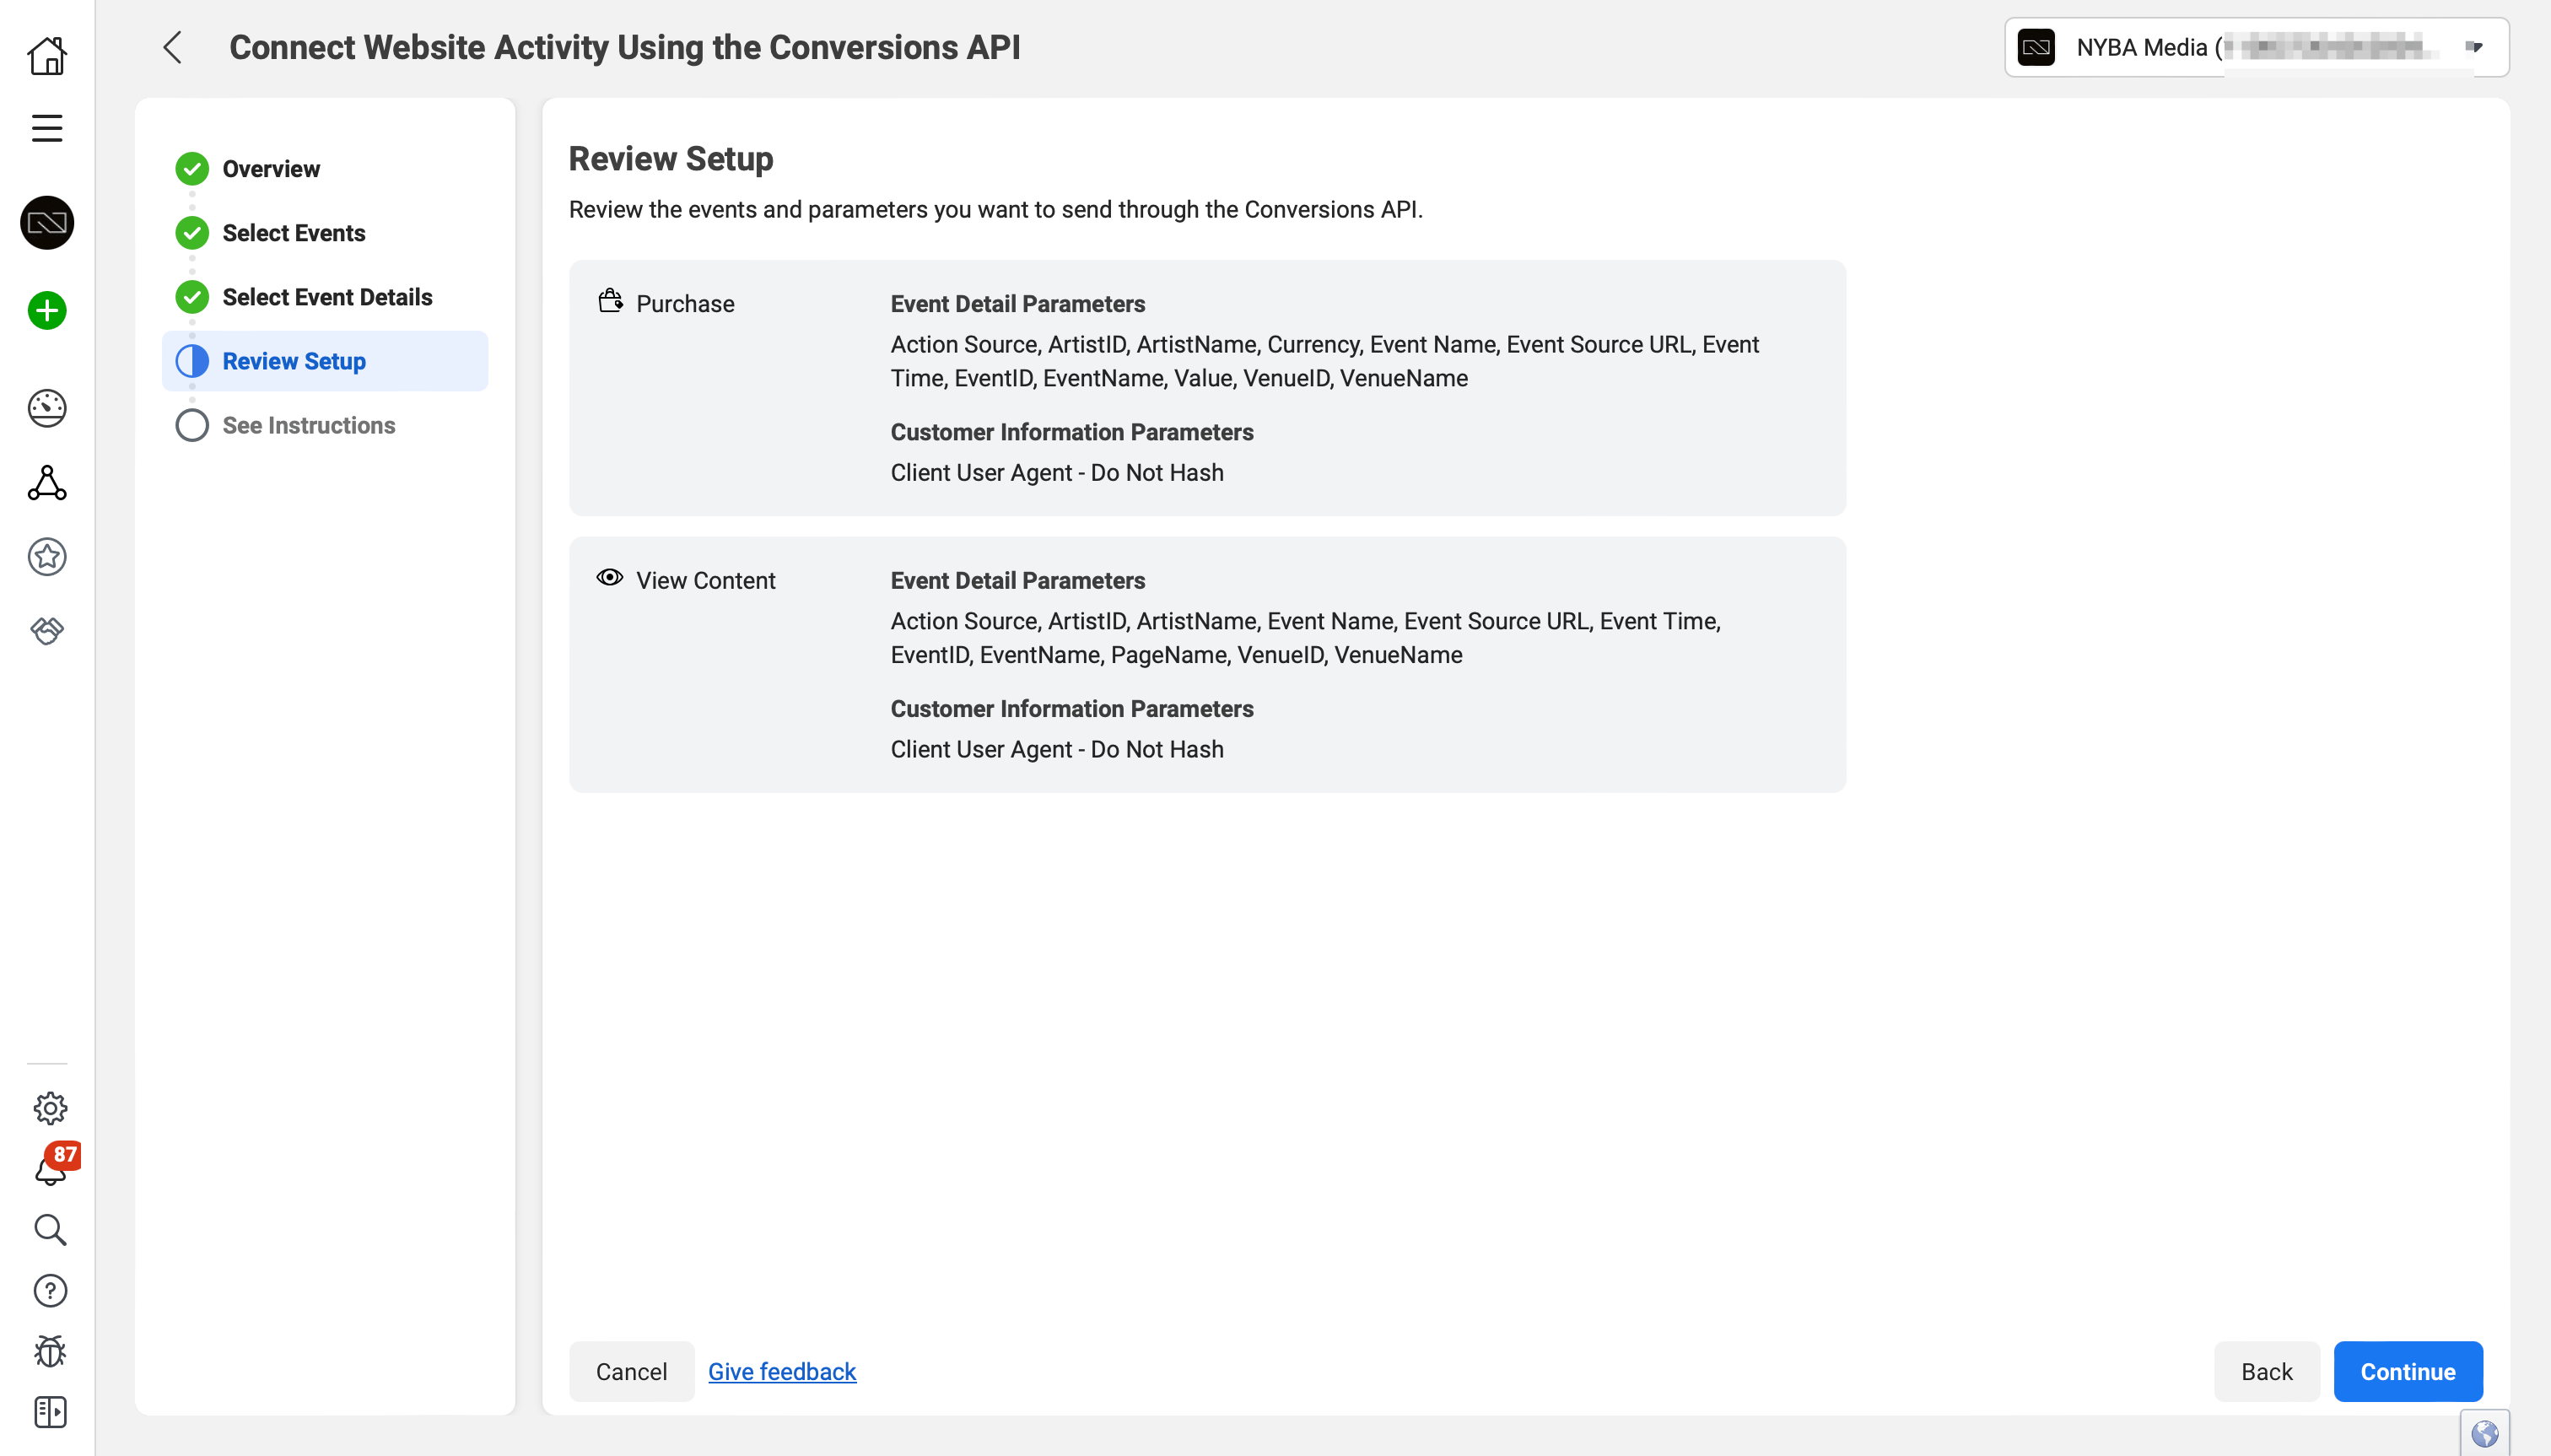
- Fill in details like event name, parameters, etc.
- Save changes.
- Deduplication
- If sending an event from both browser and server, ensure both share the same
event_idparameter value. - GTM can be configured to auto-generate the same value for both browser and server tags.
- If sending an event from both browser and server, ensure both share the same
- Testing and publishing
- Use GTM preview mode to verify events are firing correctly.
- Once satisfied, click “Publish” to go live.
Additional resources
For advanced GTM + Conversions API setups, consult official documentation or community forums.
Setup via Direct Integration
Pixel ID
You’ll need a Pixel ID. If you already have a Pixel integrated on your website, it’s best to use the same ID for both browser and server events.
Business Manager
A Business Manager is also required to fully use the API. It simplifies campaign implementation and collaboration with external partners.
API Access Token
To use the Conversions API, you’ll need a special access token. You can get it in two ways:
- Via Events Manager (recommended)
- Via your own app
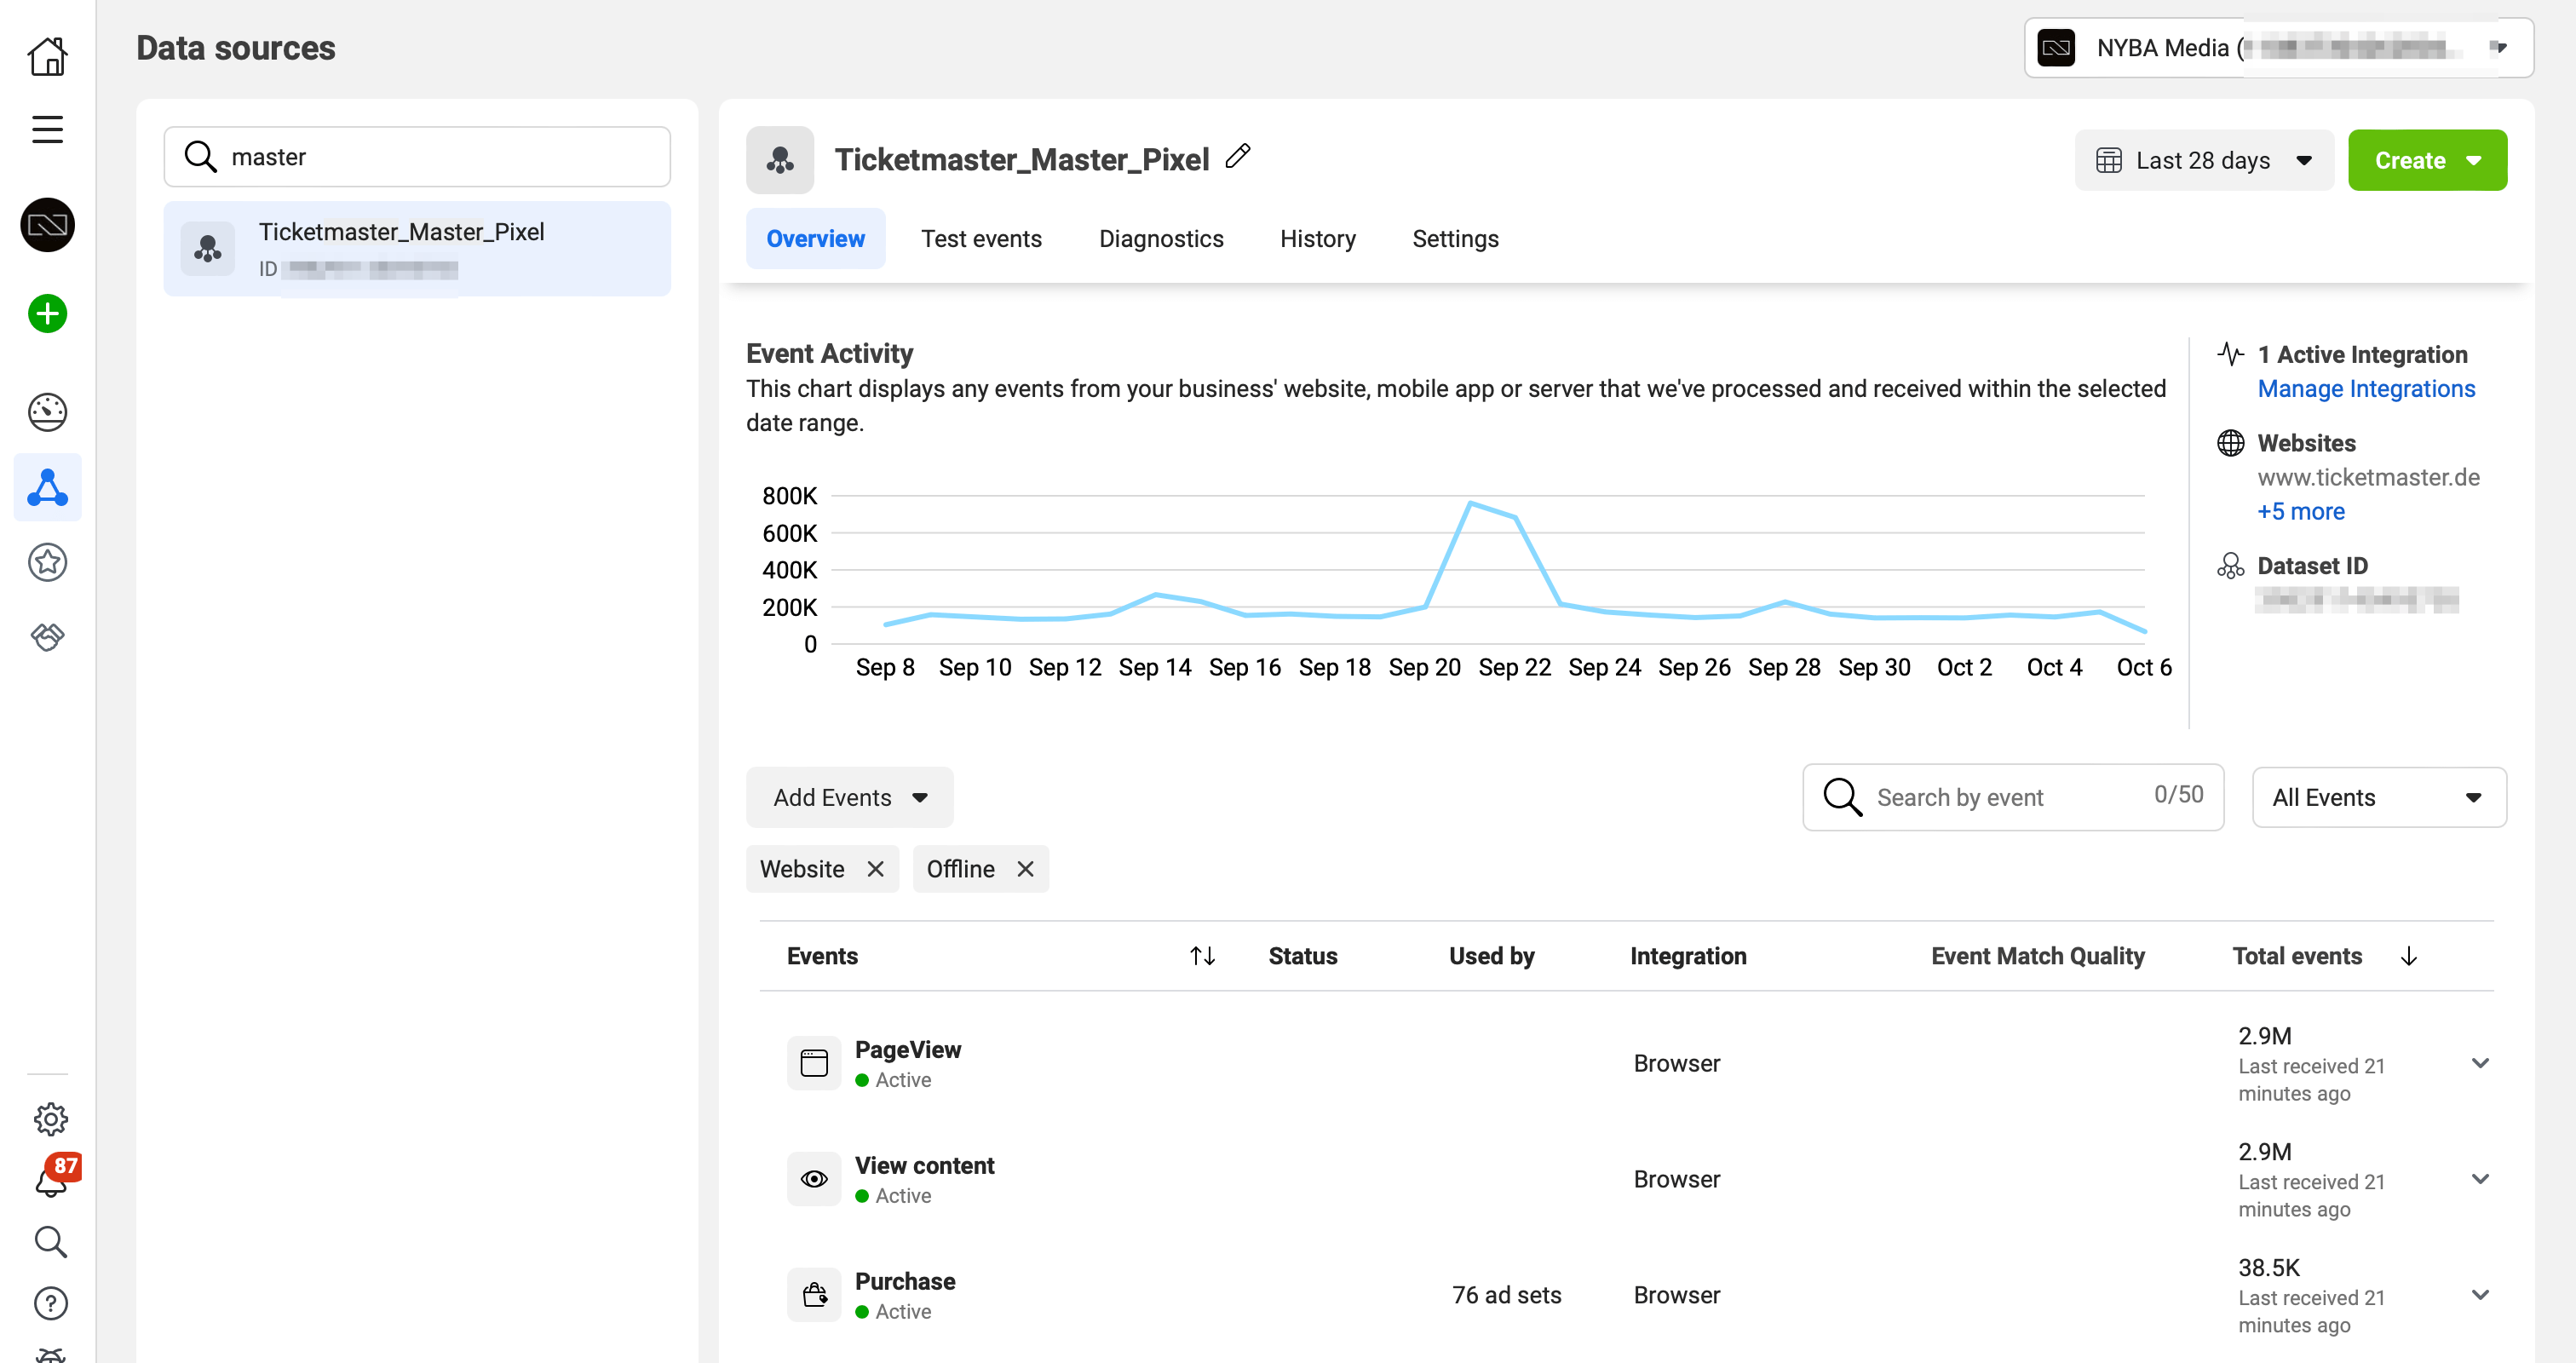
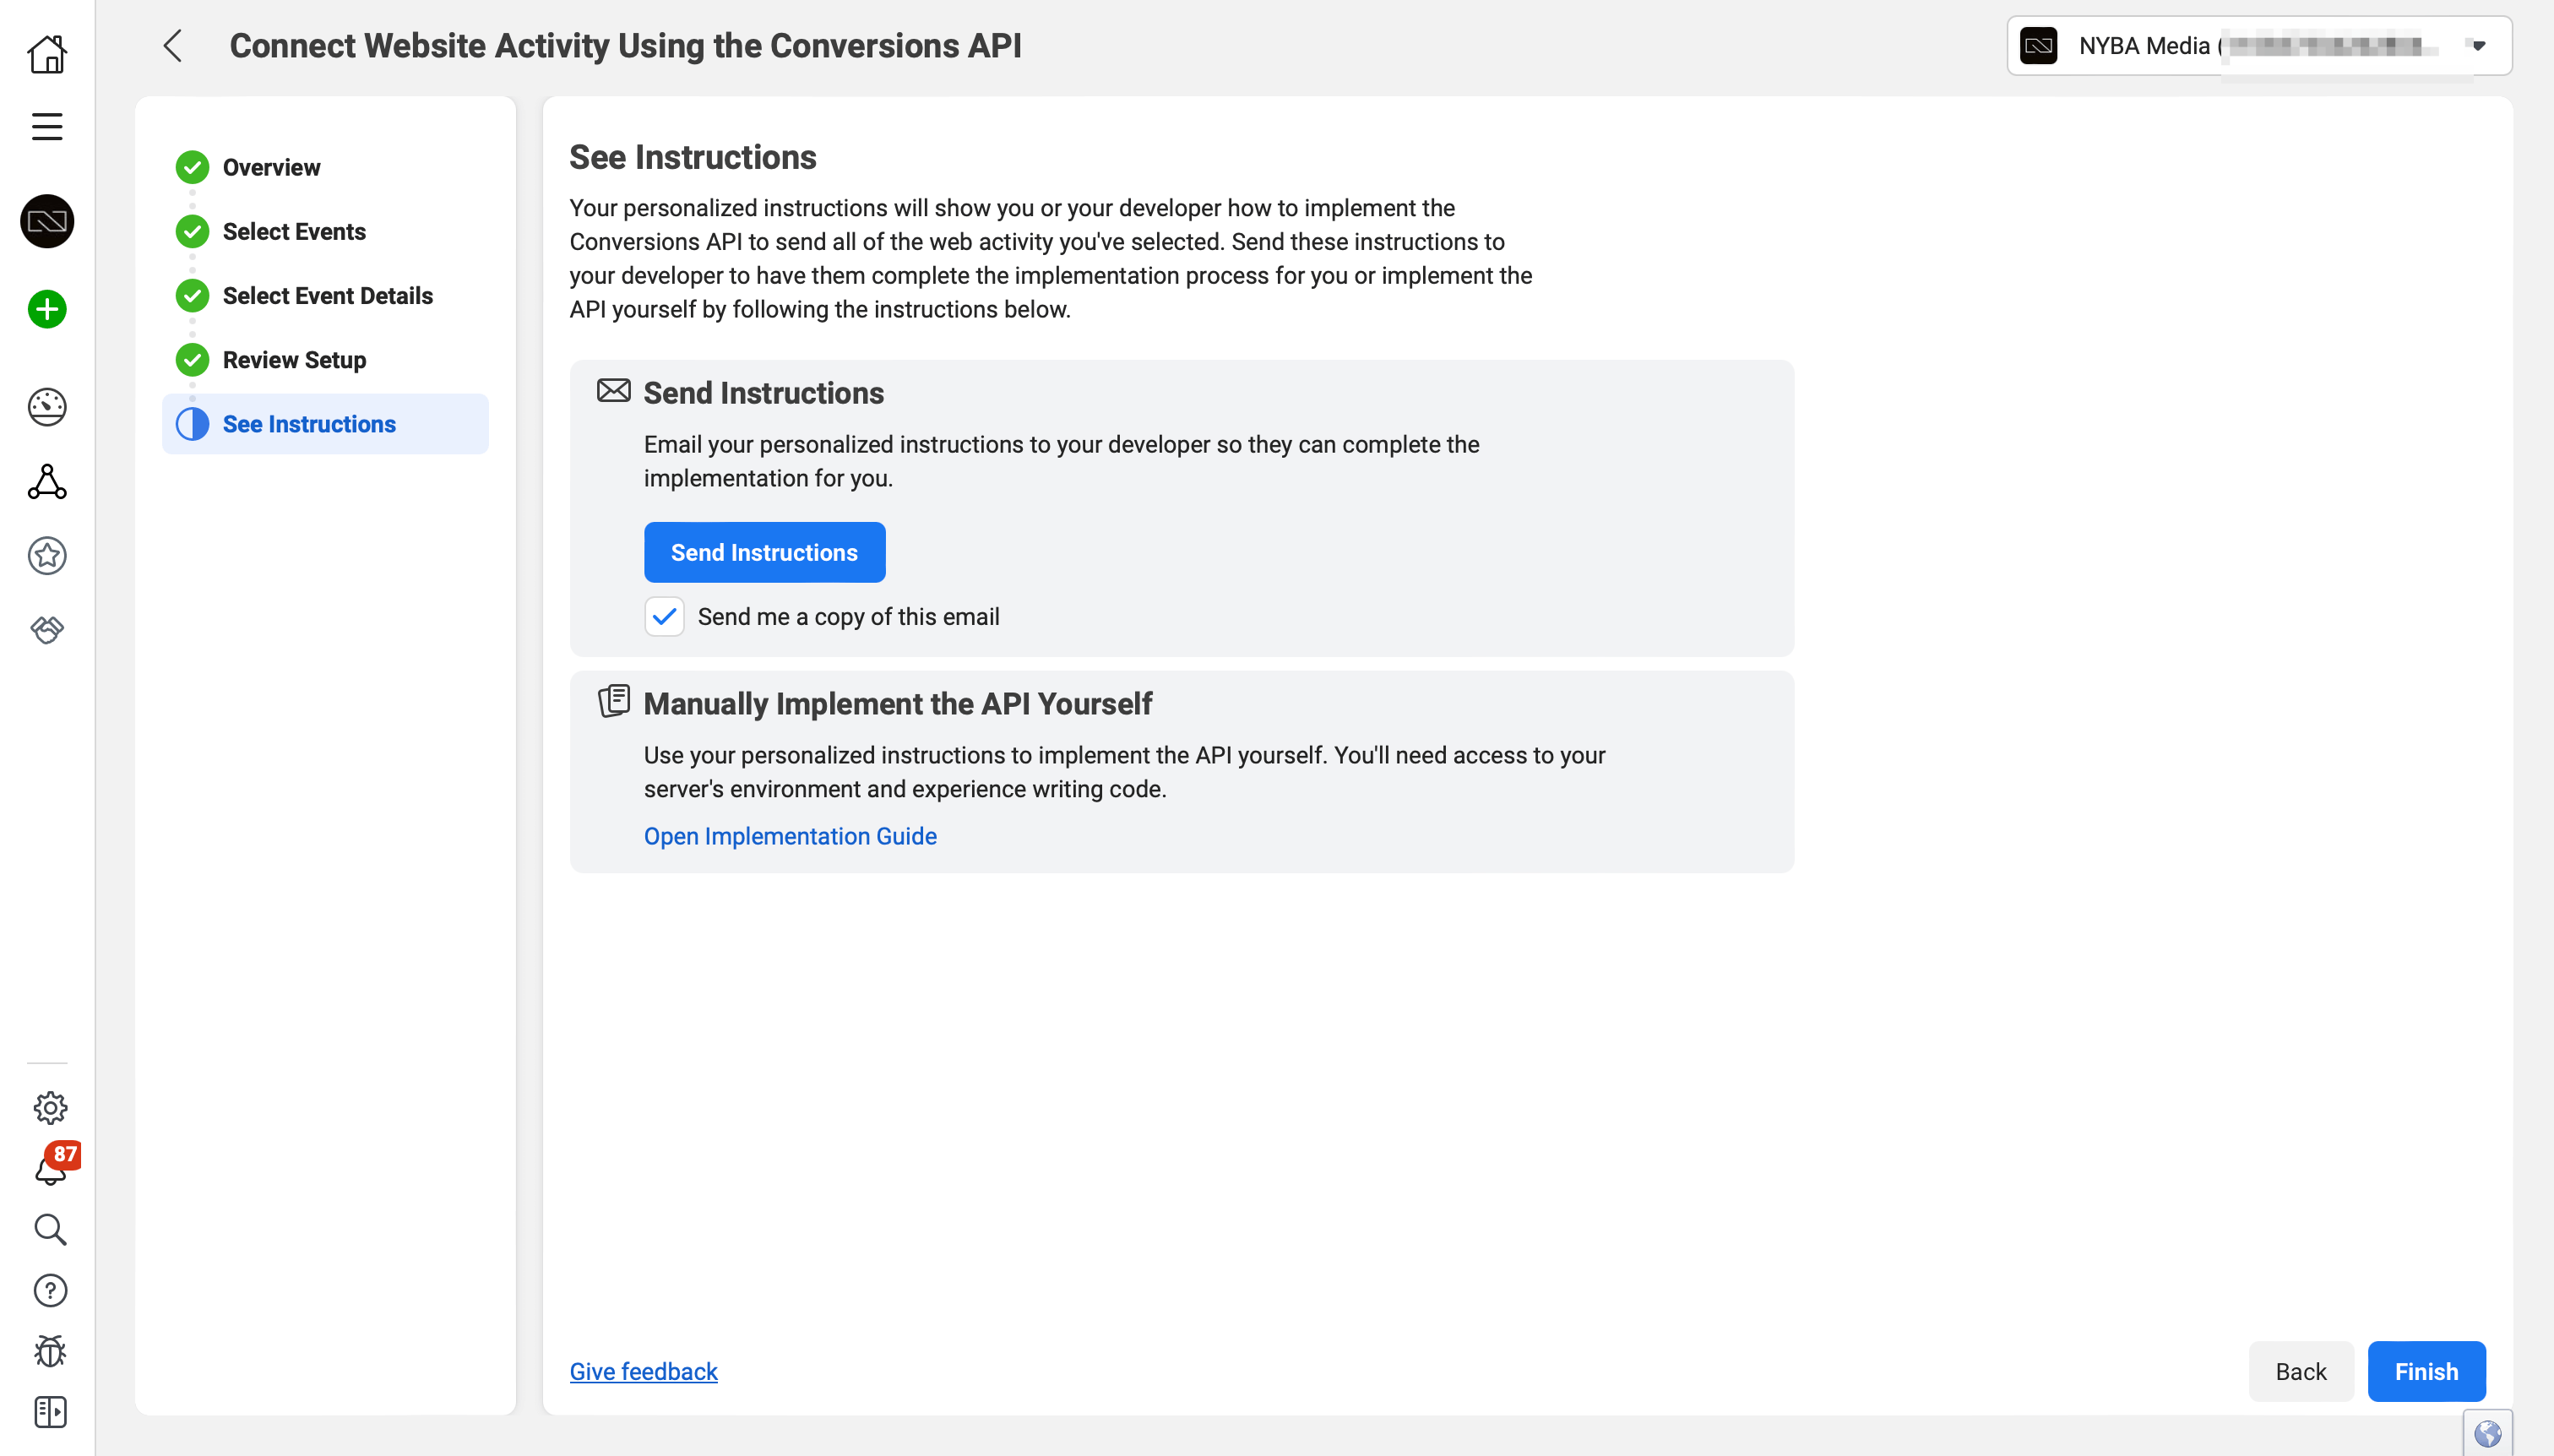
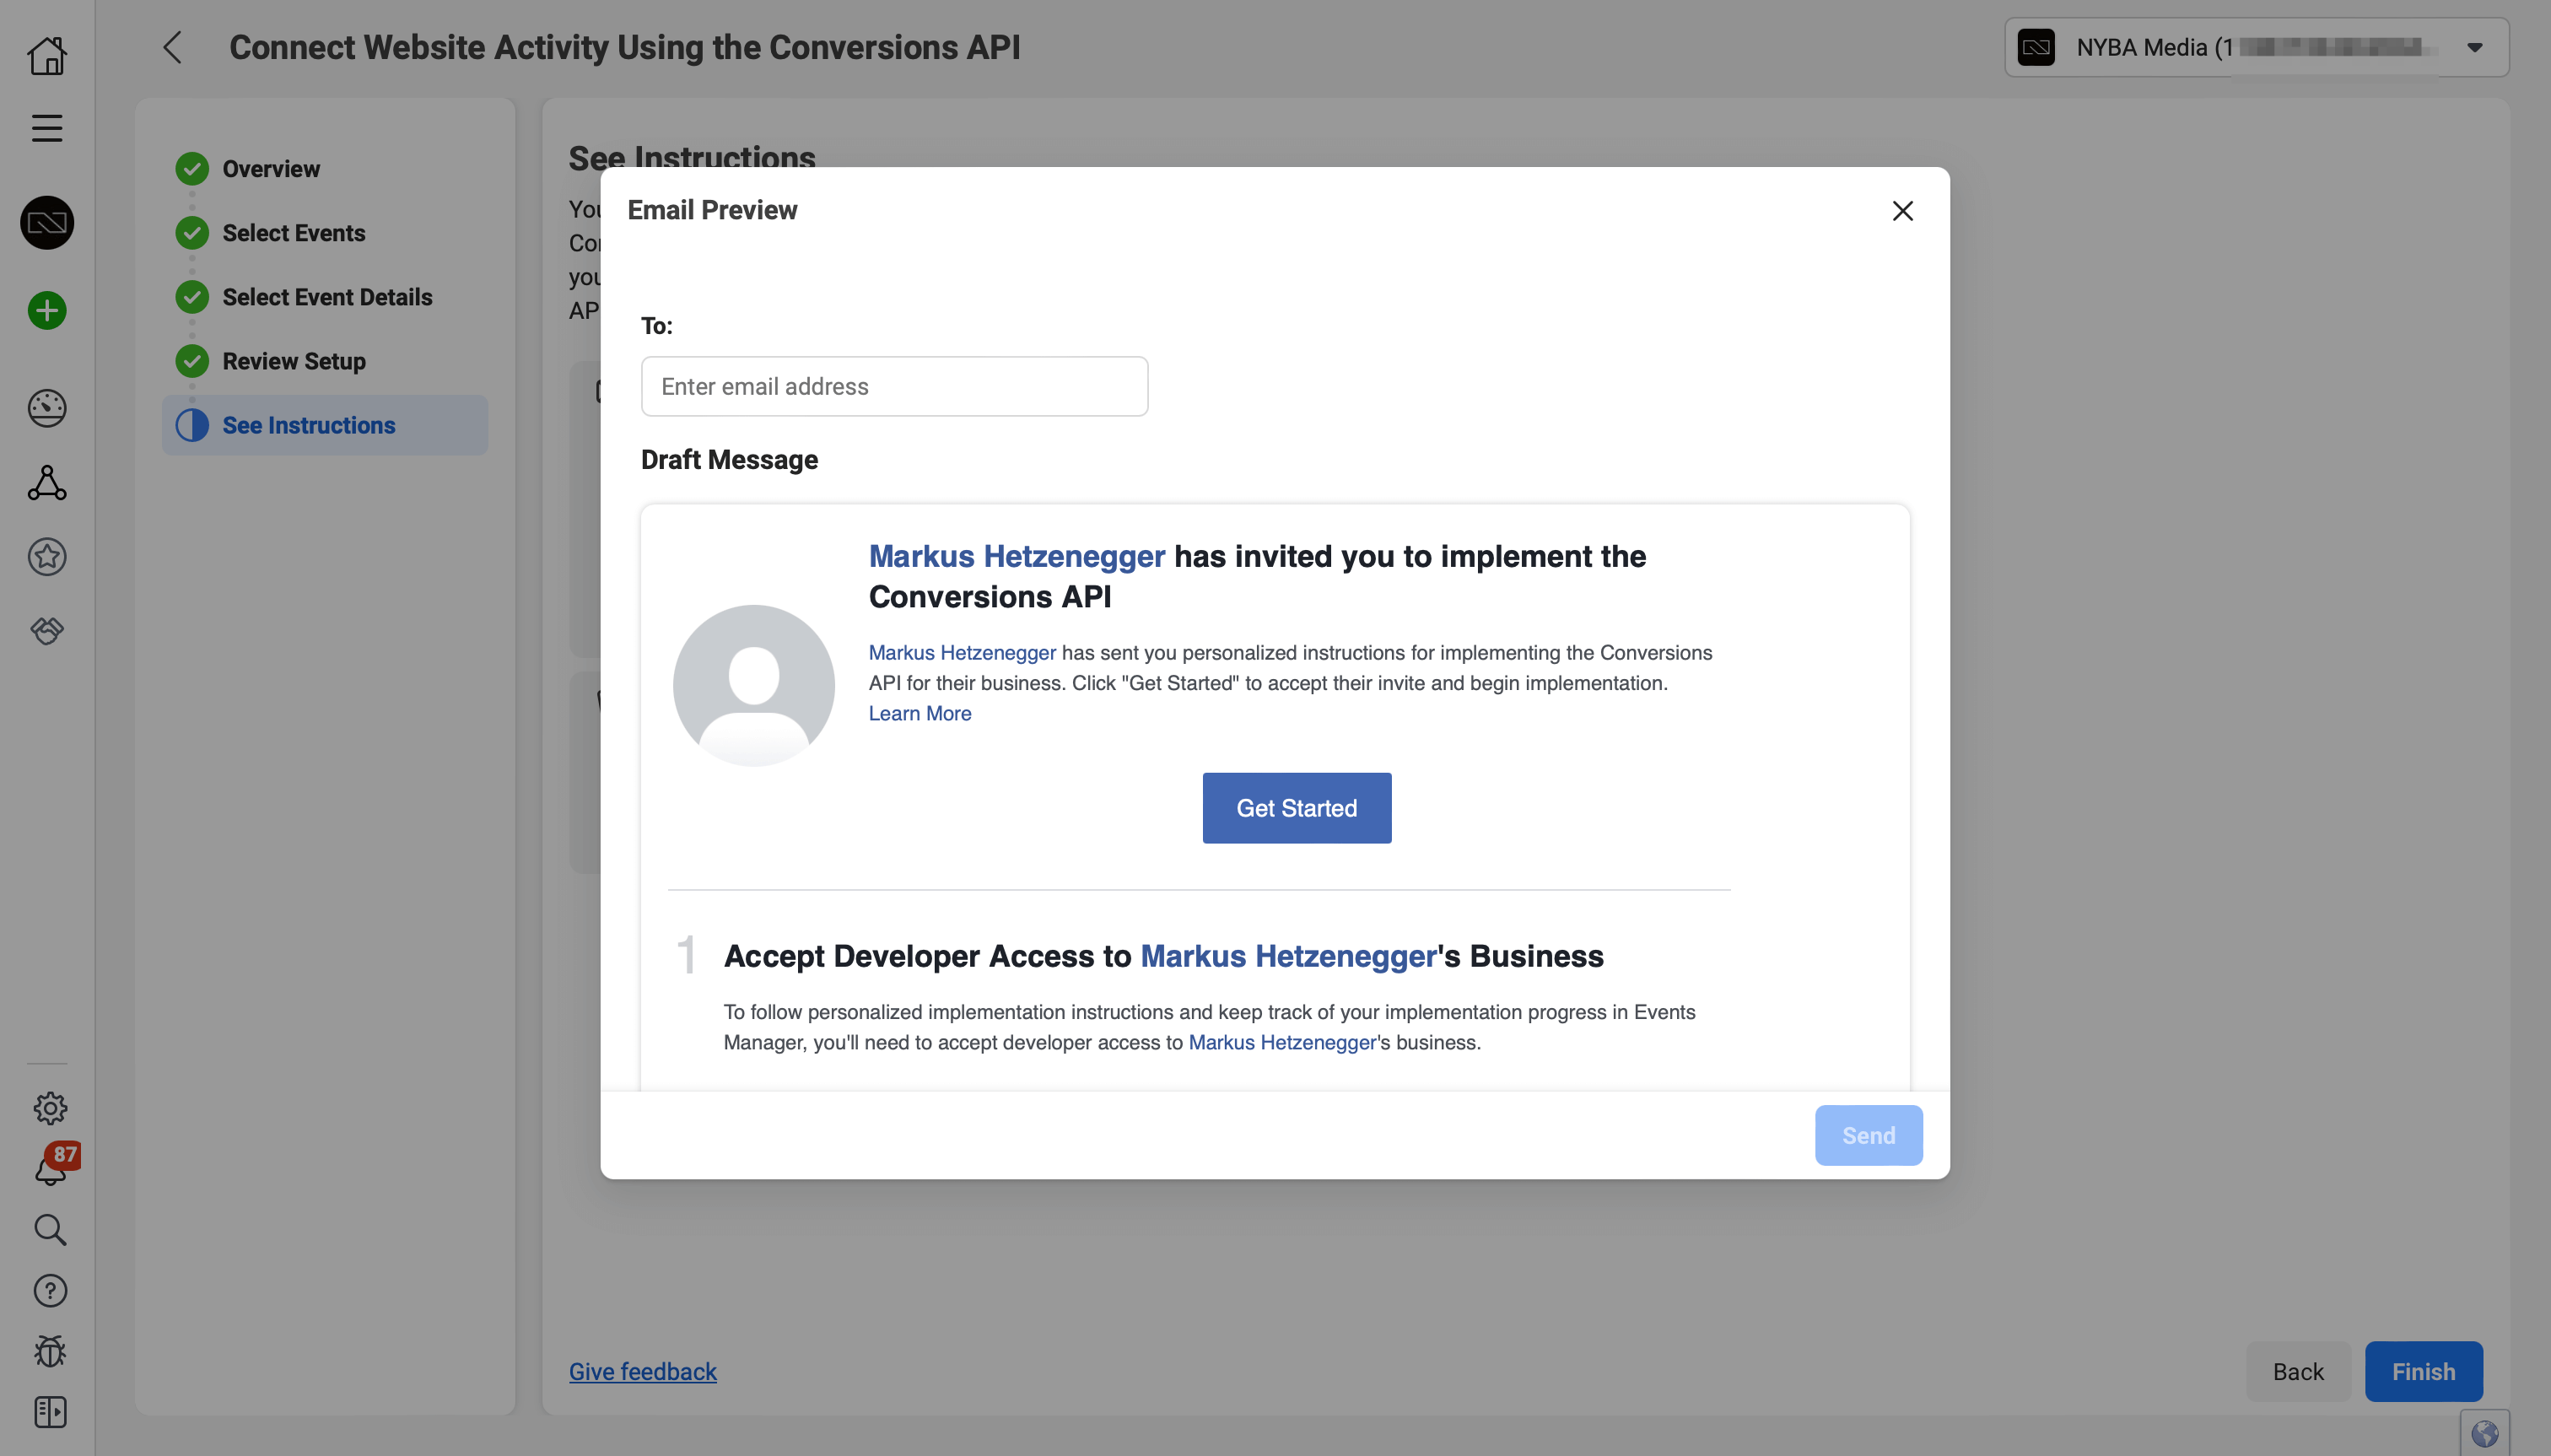
How to generate the access token via Events Manager:
- Open Events Manager and select your Pixel.
- Go to the “Settings” tab.
- In the Conversions API section, click “Generate Access Token.” Follow the steps.
⚠️ Note: Only users with developer permissions for the business can see the “Generate Access Token” option.
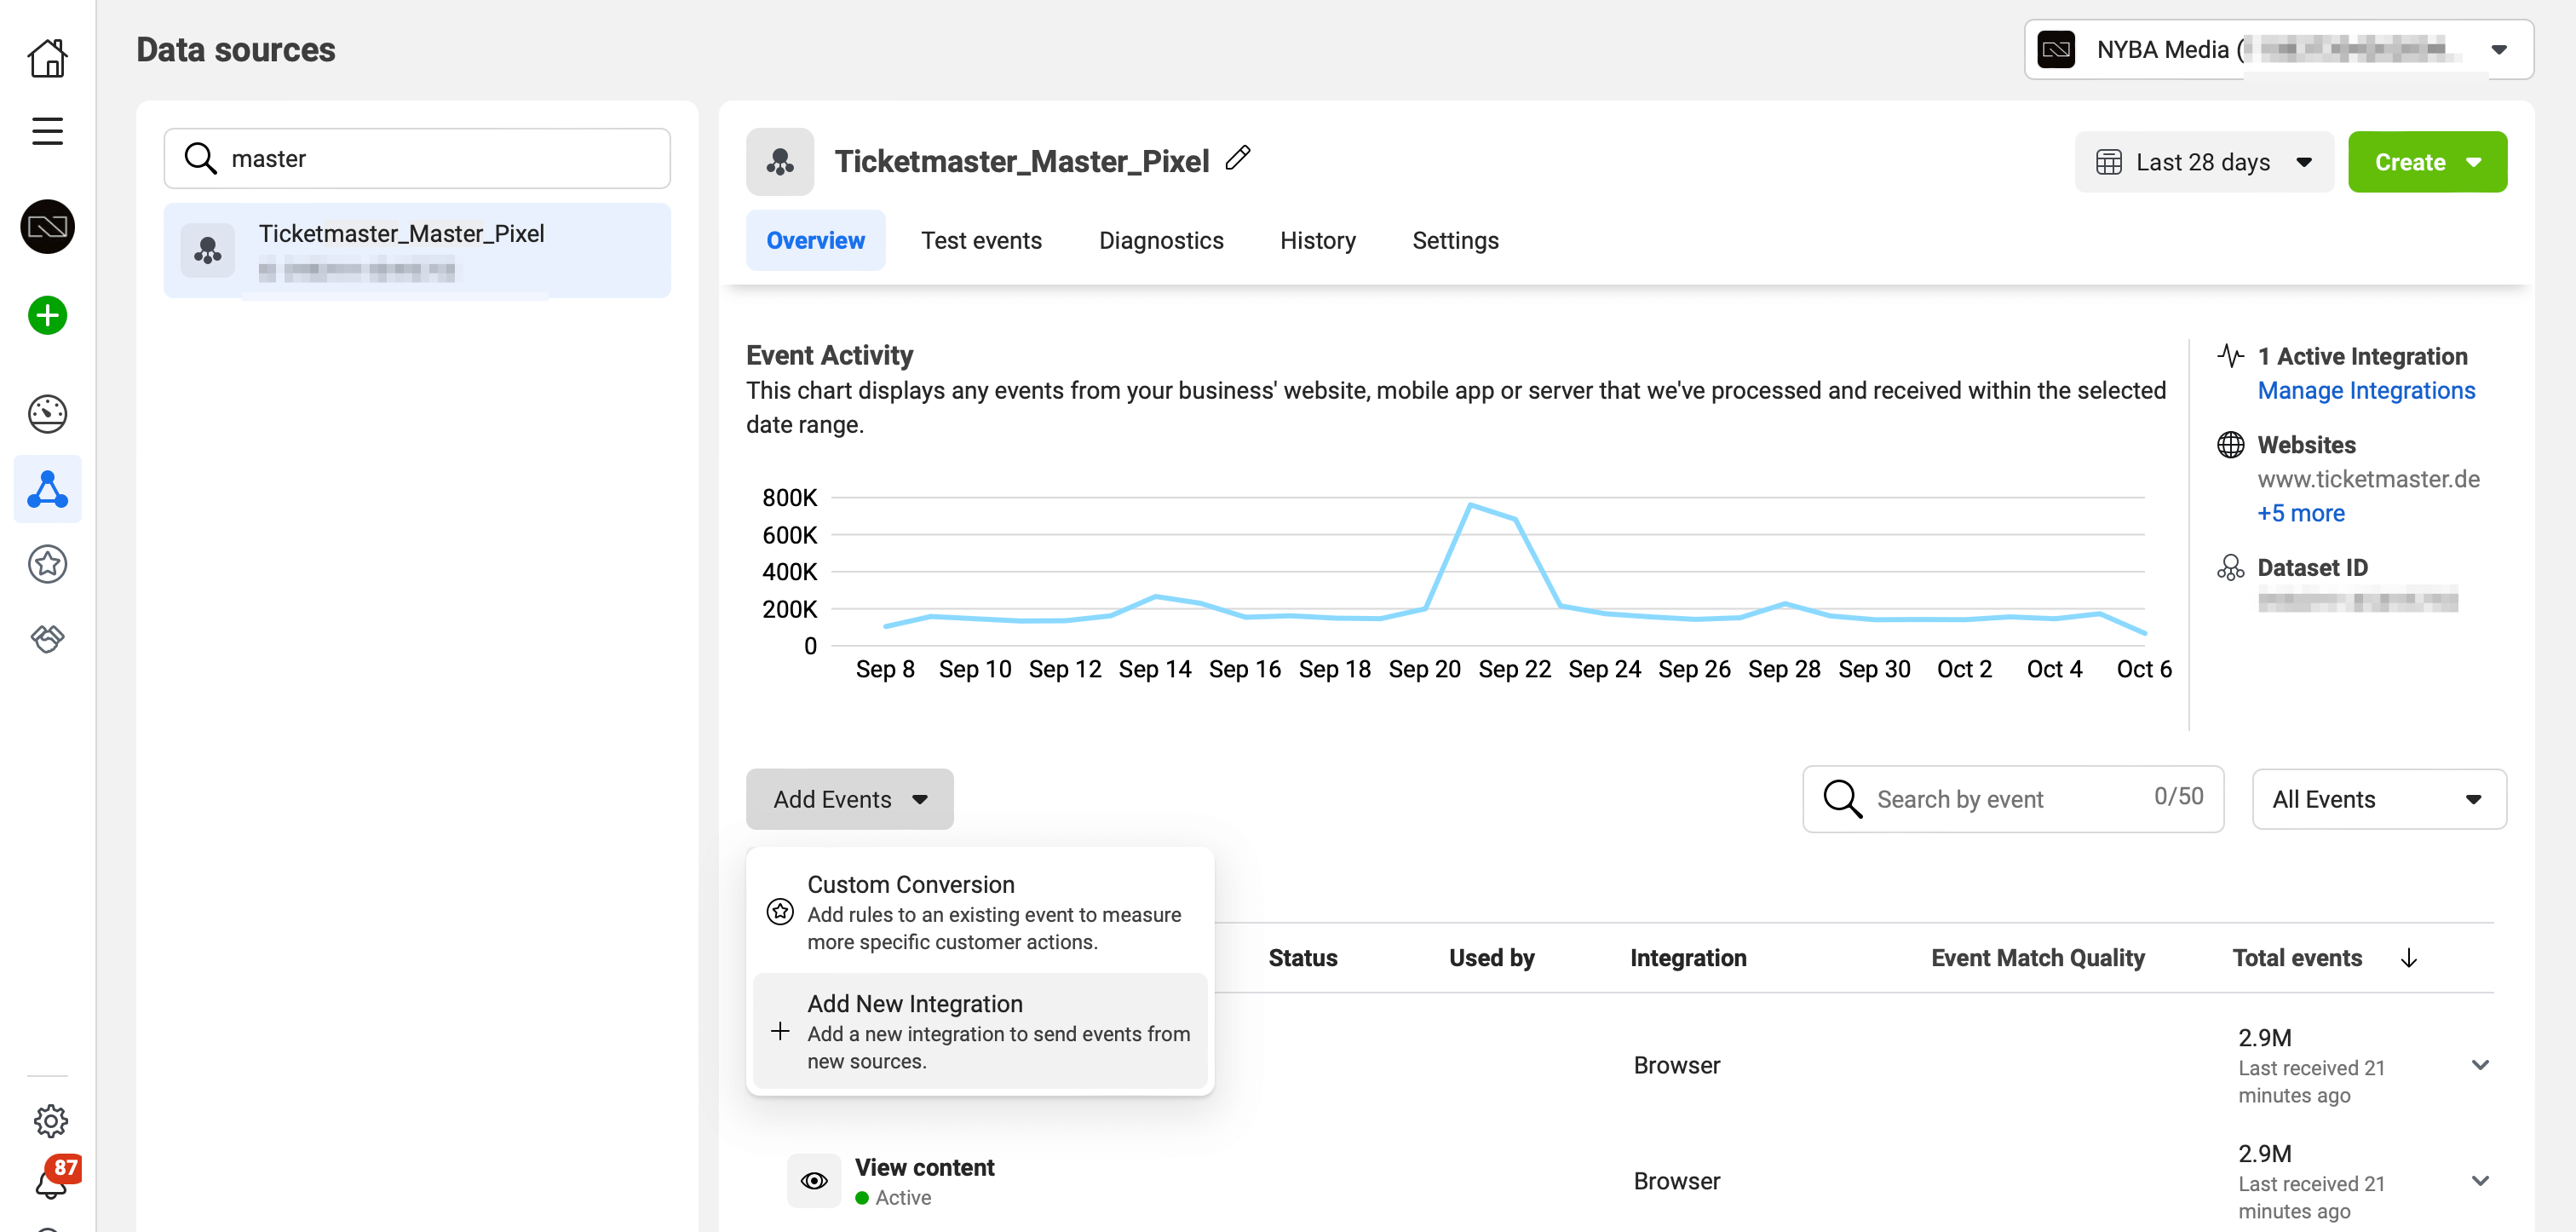
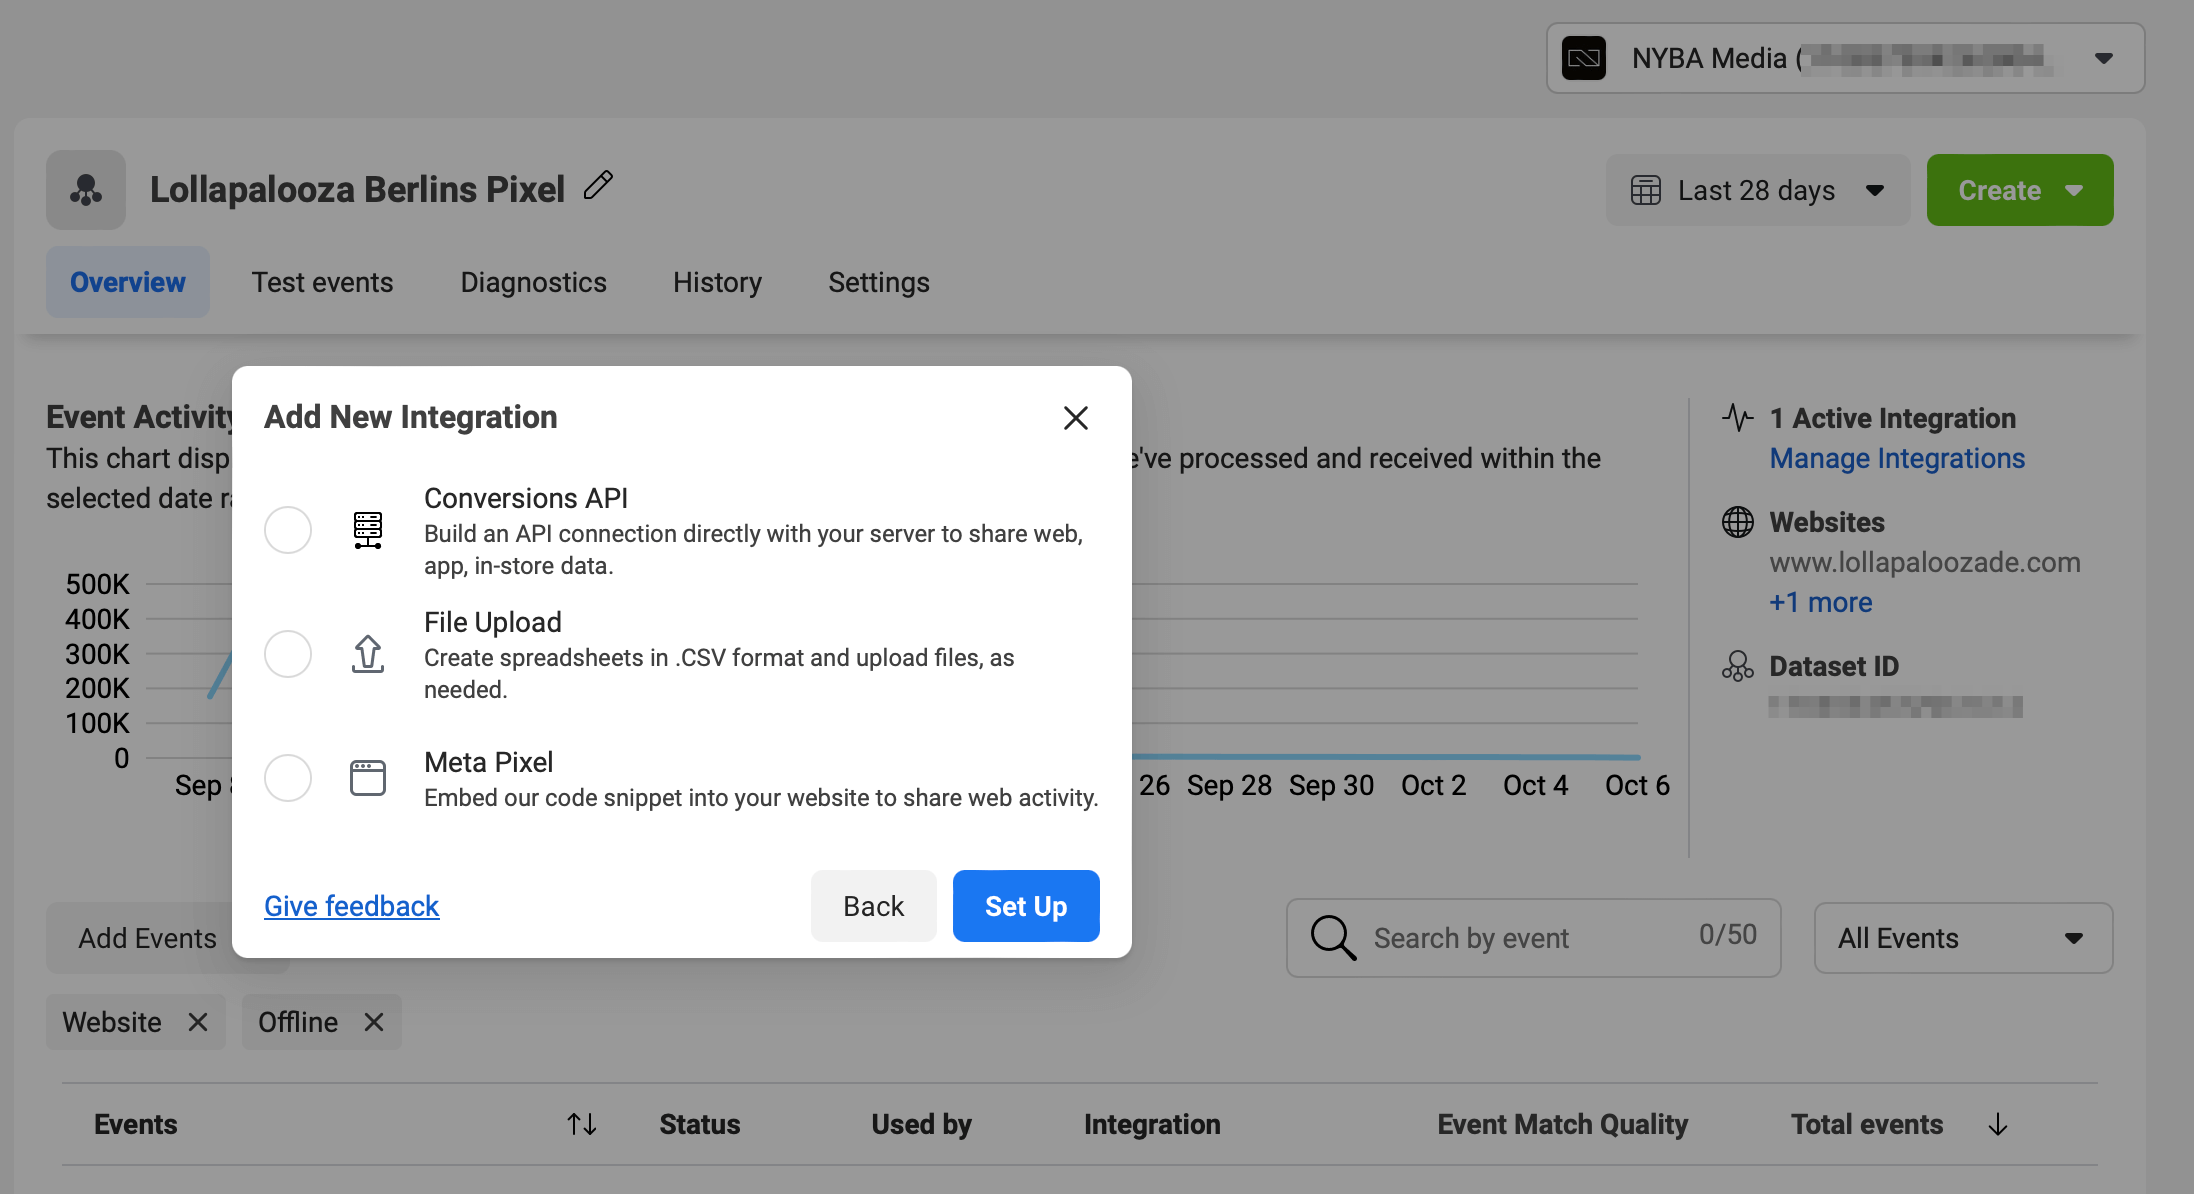
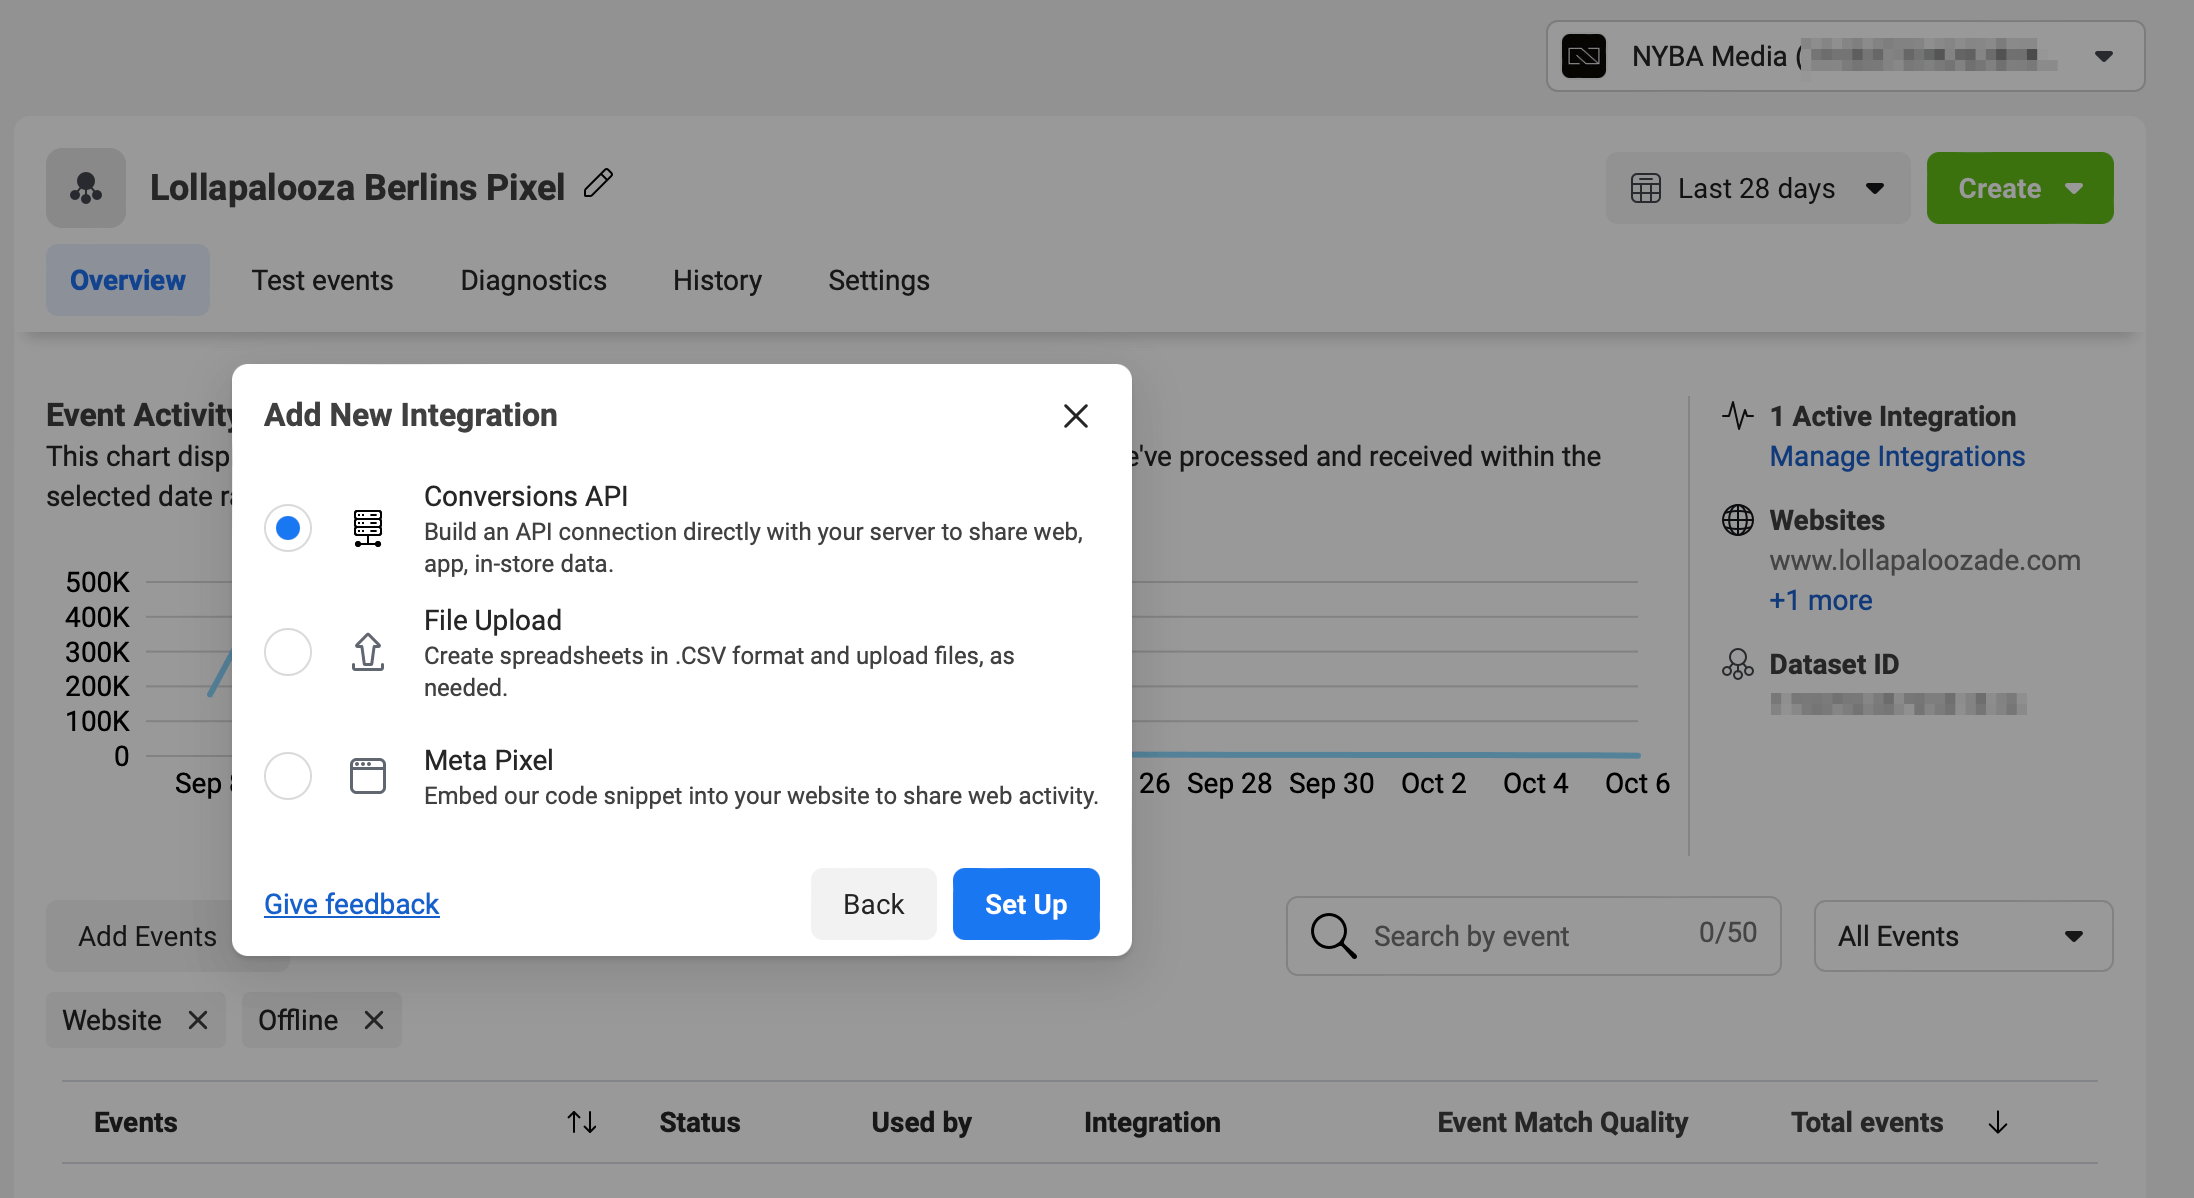
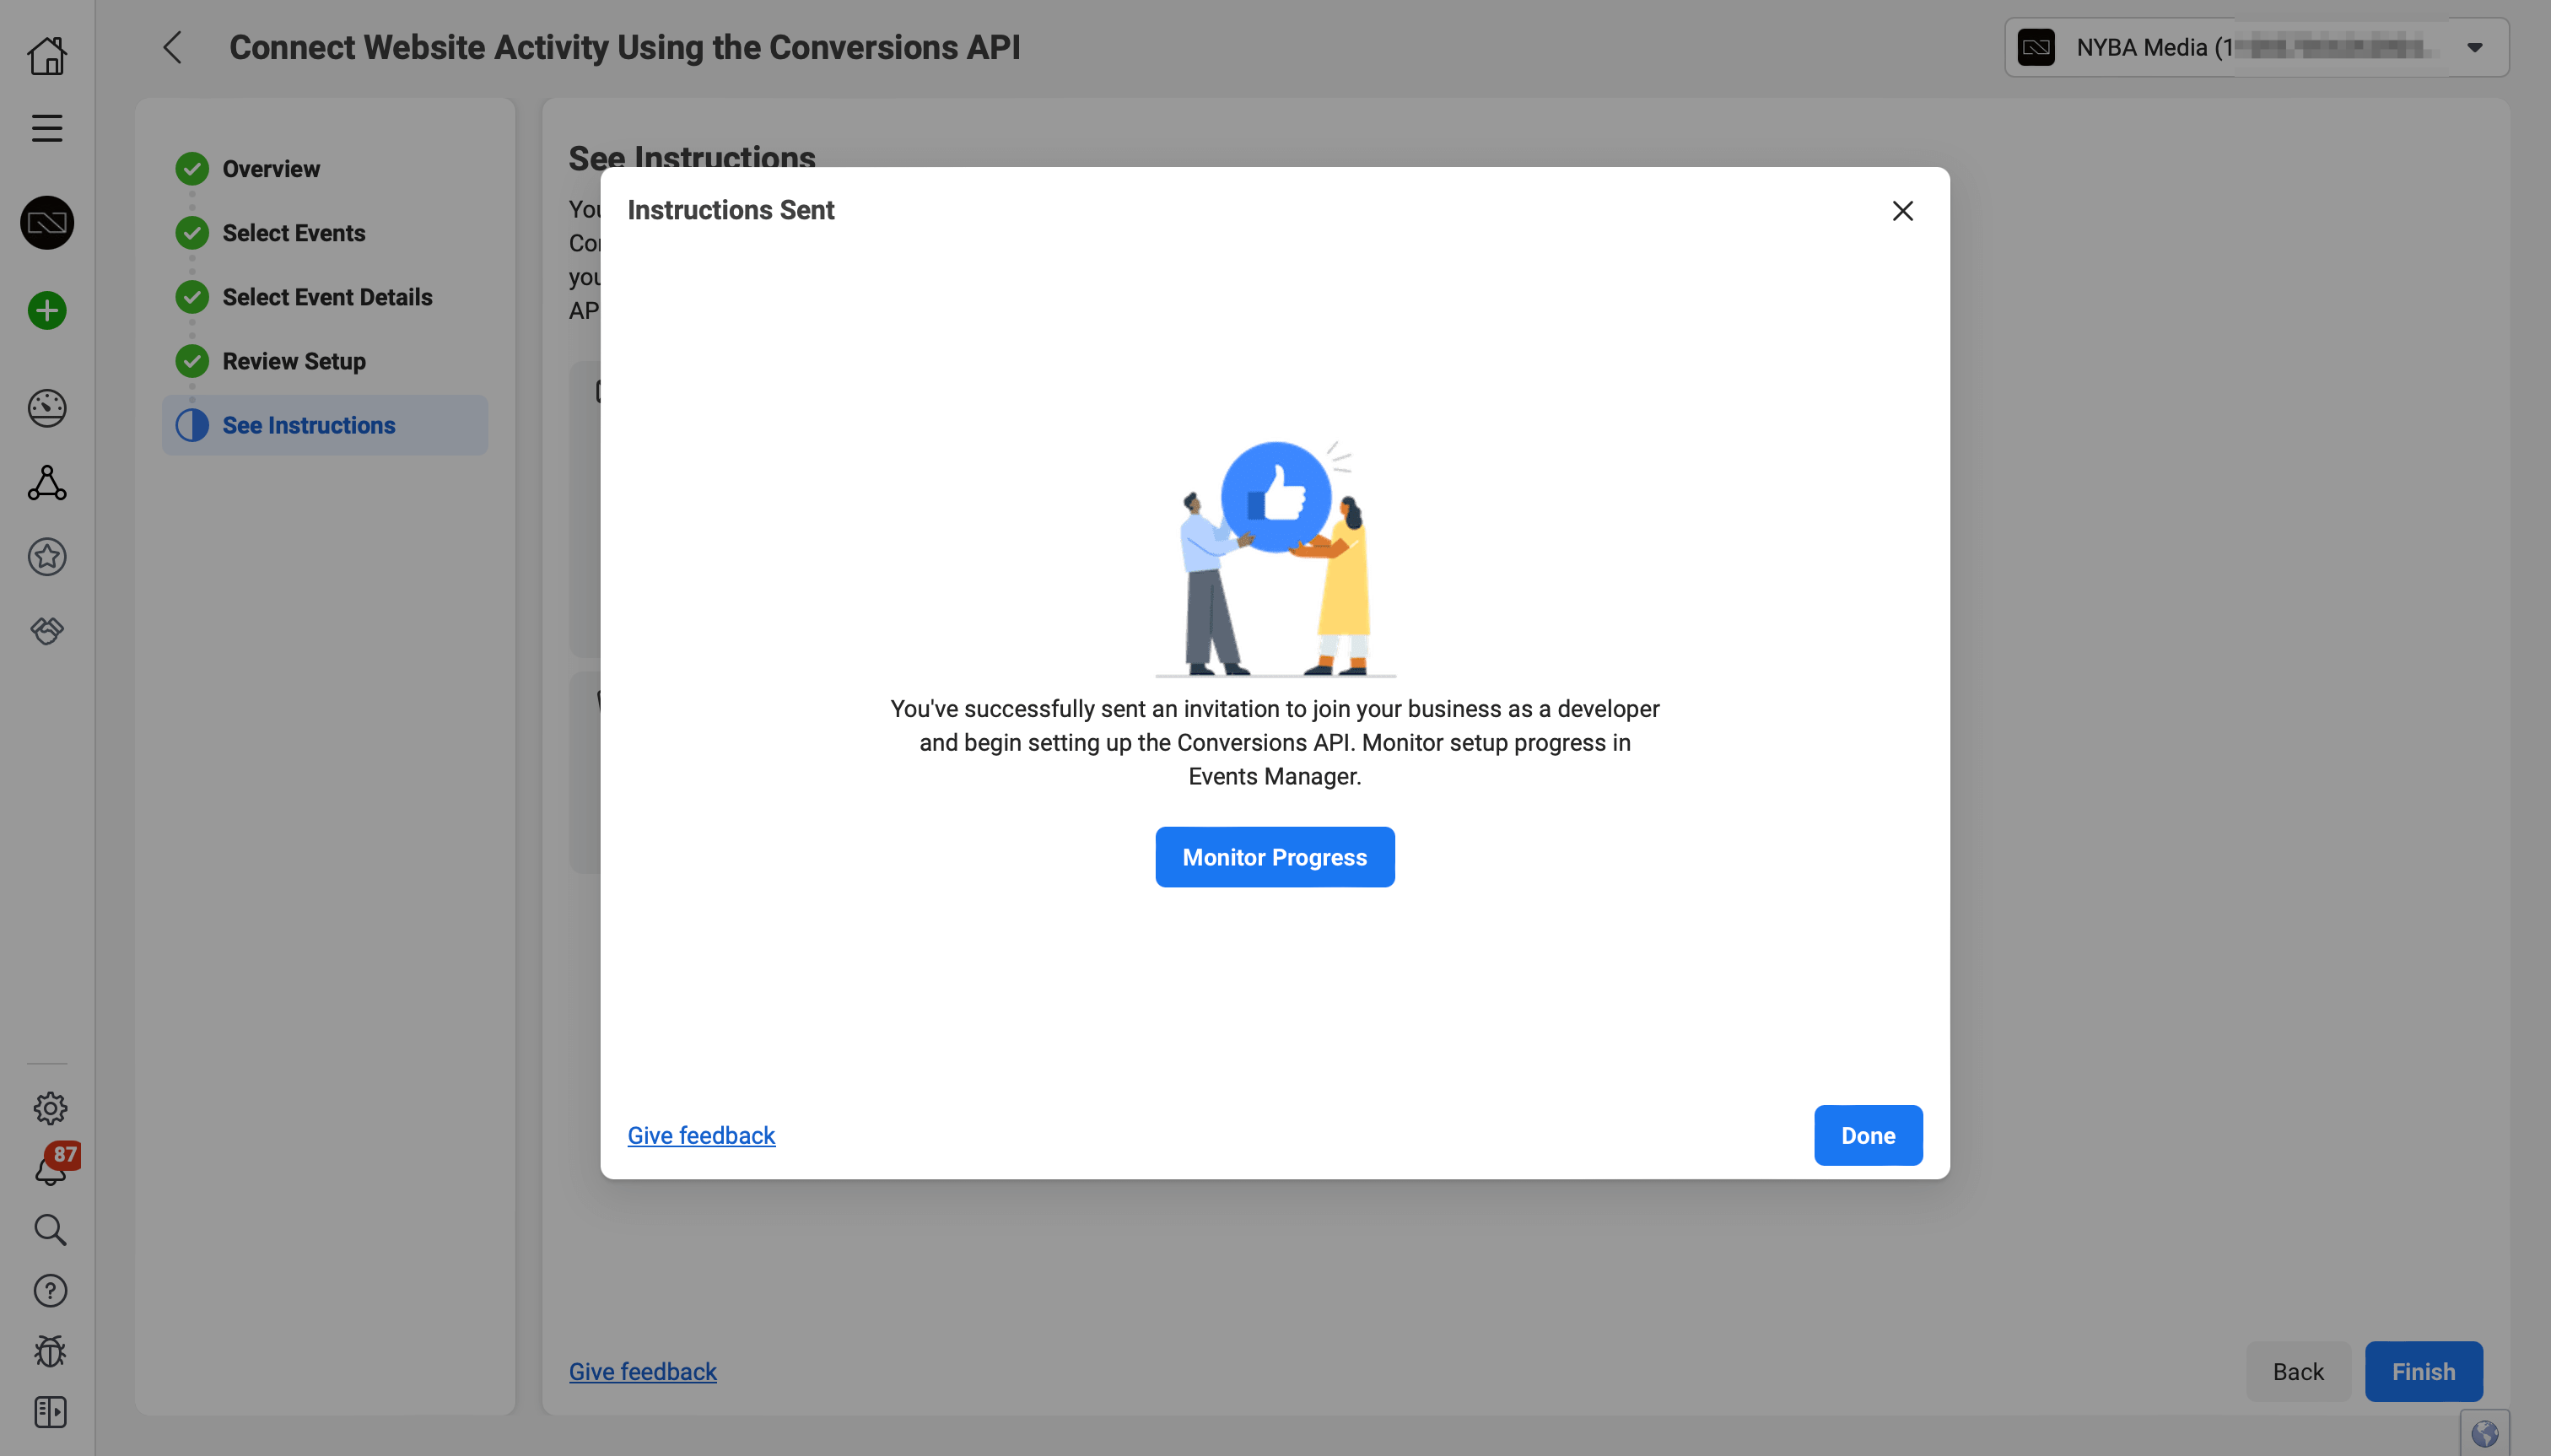
Once you’ve generated the token, go to the “Overview” tab > “Manage Integrations” > select Conversions API > “Manage.” A Conversions API app and system user will be created for you automatically. No app review or further permissions required.
Benefits of the Conversions API
- Designed to connect advertiser data (such as website events, app events, and offline conversions) from servers, platforms, apps, or CRMs to Meta’s systems to optimize ad targeting, lower cost per result, and measure outcomes.
- Instead of maintaining separate connection points for each data source, advertisers can use the Conversions API to send multiple event types, simplifying their tech stack.
- Server events are linked to a dataset ID and are processed like events sent via the Meta Pixel, Facebook SDK, mobile MMP SDK, offline event sets, or CSV uploads. This means server events can be used in measurement, reporting, and optimization in the same way. Offline events can also be used to measure attributed offline conversions or create offline custom audiences.